In a world where technology constantly evolves at breakneck speed, the allure of forging something entirely from scratch remains irresistibly captivating.Meet a hardcore developer whose three-month journey of meticulously hand-soldering a CPU and writing over 1,800 lines of assembly code showcases an exceptional blend of patience, ingenuity, and technical prowess. The culmination of this relentless craftsmanship? A self-made chip that not only powers a display but also loops the iconic scenes from “The Matrix,” blurring the boundaries between hardware creation and cinematic homage. Dive into this compelling tale of innovation, dedication, and the pursuit of mastery in the realm of DIY electronics.
Embarking on the DIY CPU journey: From Bare Components to Functionality
Diving into the world of DIY CPU creation is a testament to raw determination and technical prowess. Beginning with nothing but a handful of electronic components, enthusiasts meticulously soldered each connection by hand, transforming a chaotic jumble into a functioning microprocessor. Over three months, every resistor, transistor, and wire was painstakingly placed and tested, turning abstract schematics into a tangible, breathing brain of a computer. The journey demanded patience,precision,and an unwavering passion for hardware craftsmanship. With each solder joint, the creator gained deeper insights into the complex dance of digital signals and logic gates that power modern technology.
The coding phase was equally rigorous, involving over 1800 lines of assembly language that brought the processor to life. This intricate code told the CPU how to interpret signals, manage memory, and communicate with other peripherals. The breakthrough moments came when the custom chip finally displayed a simple screen output—an achievement that felt like conquering a digital Everest. achieving a functioning display of “The Matrix” on a homemade chip isn’t just a technical feat; it’s a creative statement on the limits of DIY innovation. Engaging with such a hands-on project transforms abstract concepts into icons of ingenuity, inspiring others to push boundaries and reimagine what’s possible outside the realm of commercial hardware.
| Component | Purpose | Challenge |
|---|---|---|
| Transistors | logic gate implementation | Miniature soldering precision |
| Resistors & Capacitors | Power regulation & signal smoothing | Size and placement accuracy |
| Assembly Code | Processor instruction set | Optimization & debugging |
Sponsor
let’s delve into the core of building your own CPU, a journey that transforms bare components into a functioning processing unit. Imagine connecting individual transistors, resistors, and capacitors, meticulously arranging them on a breadboard or custom PCB. This hands-on approach provides an unparalleled understanding of how each element contributes to the overall system.It’s about more than just assembling parts; it’s about forging a deep connection with the basic building blocks of computation.
This exciting hands-on expedition will touch on many different areas such as:
Component Selection: choosing the right transistors, resistors, and capacitors is crucial for optimal performance. Circuit Design: Designing the logical circuits that will perform arithmetic and control operations.
Assembly and Wiring: Connecting the components on a breadboard or custom PCB, a process requiring precision and patience. Testing and Debugging: Identifying and resolving issues as you bring your CPU to life.
To help you during your journey, please refer to the following table with essential parameters.
Parameter
Value
Description
Voltage
5V
standard operating voltage.
Clock Speed
1 MHz
Initial target clock speed.
Memory
1 KB
Start with small memory.
Consider using EaseUS (TW - Traditional Chinese) to protect your precious data as you explore the possibilities of your new CPU.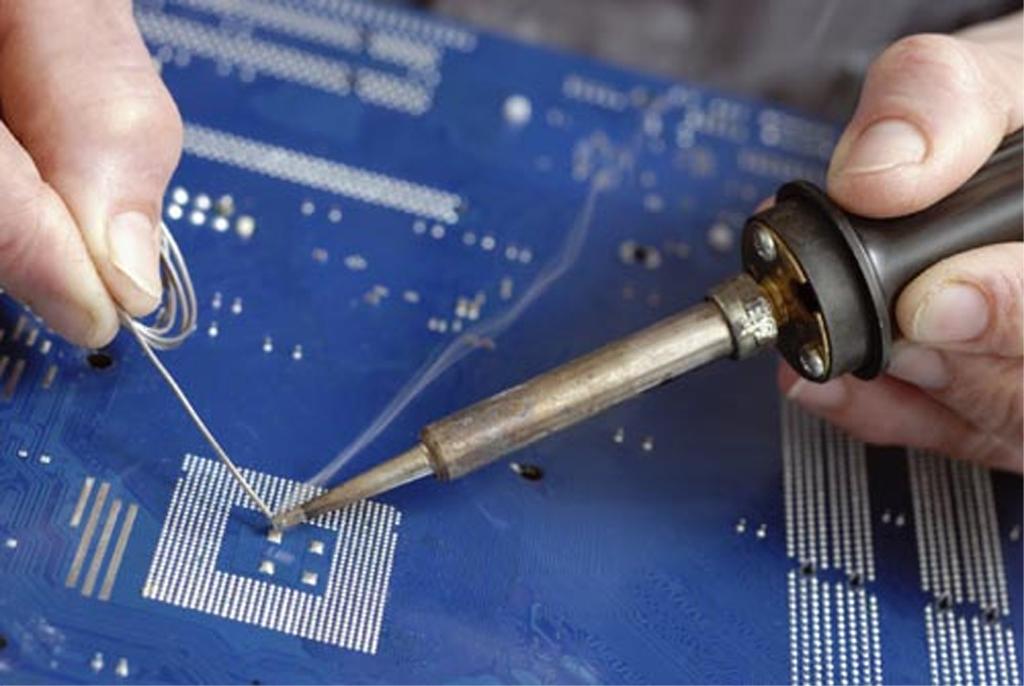
Mastering the Art of Hand-Soldering: Techniques and Tips for Hardware Enthusiasts
achieving precision in hand-soldering requires more than just a steady hand; it’s an intricate dance of focus, technique, and patience. Start by selecting high-quality, fine-tipped soldering irons and thin solder wire to maintain control over tiny components. Always ensure your workspace is static-free and well-lit, allowing you to see each connection clearly. When working on complex circuits like CPUs, consider employing magnification tools such as a jeweler’s loupe or a microscope to prevent any misaligned joints. Practicing different soldering techniques like drag soldering for headers and fine-tip work for delicate chips can elevate your craftsmanship from amateur to professional.
For those venturing into hardware creation through intense manual effort, organizing your workflow is essential. Use a dedicated layout plan with labeled sections and component placement guides to avoid mistakes. When troubleshooting, inspect each joint meticulously under magnification, looking for common issues like cold solder joints or bridges. Incorporate simple yet effective tips such as testing continuity continuously during assembly or employing color-coded wires for easier troubleshooting. Remember, mastery grows from consistent practice—each soldered connection pushes your skills further, transforming a daunting task into an extraordinary achievement, like bringing a homemade CPU to life with a flickering screen presenting *The Matrix*.

Decoding Assembly: Crafting complex Code for a Custom Processor
Behind every line of assembly code lies a meticulous dance of binary commands, woven together by a passionate developer’s dedication. Crafting a custom processor from scratch isn’t just about understanding hardware; it’s about translating that understanding into a language that the machine can interpret flawlessly. The assembly language used here isn’t merely a set of instructions—it’s a toolkit for fine-tuning performance, optimizing resource management, and pushing the boundaries of what a self-made chip *can* achieve.
To bring this ambitious project to life, the developer painstakingly wrote over 1800 lines of assembly code—each line a brick in the foundation of a functioning CPU. The process involved:
- Designing instruction sets tailored for the custom architecture
- Writing low-level routines to control input/output, memory, and processing units
- Debugging through meticulous testing and iterative refinement
The result isn’t just a theoretical design; it’s a tangible, working system capable of running a display that projects scenes from The Matrix. Such complexity distilled into manual assembly highlights the amazing skill and perseverance driving DIY innovation at the hardware level.
| Stage | Key Focus | Outcome |
|---|---|---|
| Design | Instruction Set Architecture | Custom, lightweight CPU cores |
| Implementation | Manual assembly coding | 1800 lines of optimized instructions |
| Testing | Hardware-software integration | Stable output, smooth display |

Bringing It All to Life: Challenges and Triumphs in Displaying a Classic Movie on a Self-Built Chip
The journey from concept to execution was nothing short of a technical odyssey. The developer faced a labyrinth of hurdles—soldering tiny components without a single error, debugging 1800 lines of meticulously handwritten assembly code, and ensuring that the custom-designed logic was synchronized perfectly. Each step required patience and precision, transforming mere ideas into a tangible, functioning hardware—an achievement that celebrates the beauty of raw engineering craftsmanship. the thrill of seeing the first flickering image on the screen after countless sleepless nights became a testament to perseverance and ingenuity.
The triumph was not just in the final display but also in the meticulous problem-solving journey. Real-time adjustments to the timing and signal pathways turned initial glitches into seamless playback, with the iconic scene from The Matrix shining in pixel-perfect clarity.Among the notable challenges and breakthroughs were:
- Overcoming power stability issues with custom-designed regulators.
- Ensuring data integrity during high-speed transfers between CPU and display.
- Optimizing assembly code to run efficiently within hardware constraints.
| Obstacle | Breakthrough |
|---|---|
| Alignment errors in soldering | Use of magnification tools and custom jigs |
| Hardware speed limits | Handcrafted assembly code tuning |
| Signal noise interfering with display | Custom shielding and grounding techniques |
Key Takeaways
And so, after three months of relentless dedication—soldering, coding, and tinkering—this passionate developer brought a tiny, self-made CPU to life. Not only did it run 1800 lines of assembly, but it also managed to display a scene from The Matrix on a screen, blurring the lines between hobbyist and hacker. In a landscape dominated by manufactured chips,their craftsmanship reminds us that innovation frequently enough begins with a single,steady hand and a curiosity that refuses to be contained. Sometimes, the most impressive breakthroughs are born from pure passion—and a little bit of stubborn solder.